Abbie and I love our stay at home days. She gets to play in her pajamas and do fun things with Mama. Our fun things are pretty simple. My philosophy is that toddlers will delight in pretty much anything. And I have to say, even as an adult, I find making playdough delightful.
In my teaching days, I made A LOT of playdough in the classroom. I have used a lot of recipes, but this is my go-to. I LOVE it. It is from a blog called The Sweeter Side of Mommyhood. And wait until you see how you add the color! It’s so much fun and quite unique.
Let’s get started on making playdoh with Abbie! Here is a link to the recipe I use:
SOFT HOMEMADE PLAYDOUGH RECIPE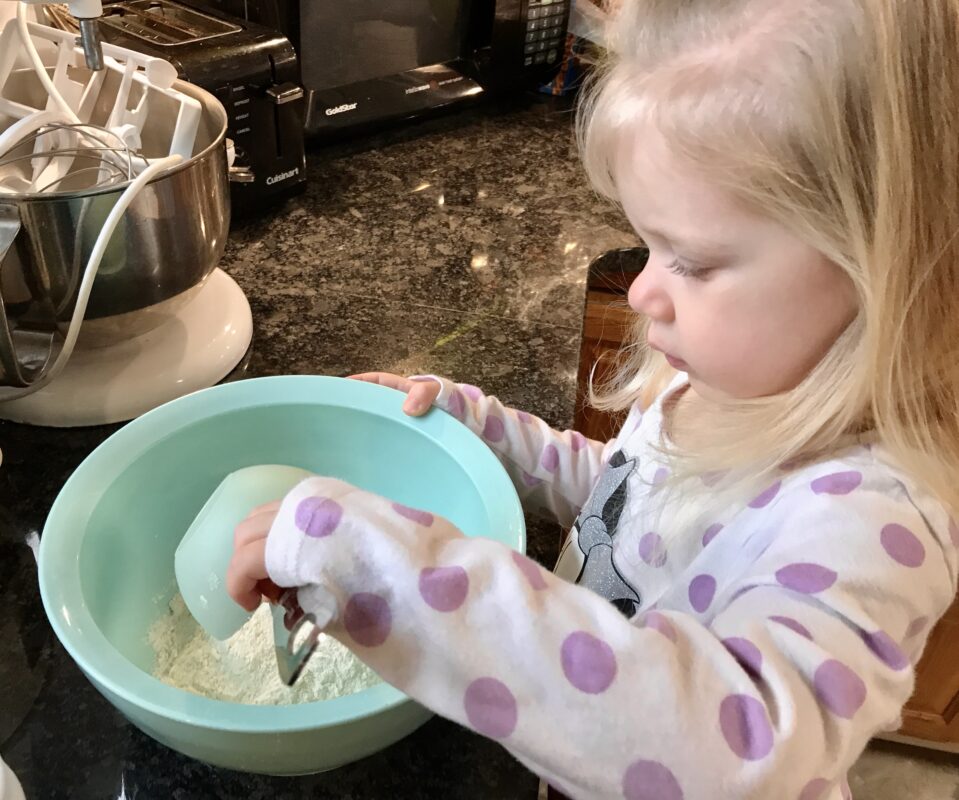
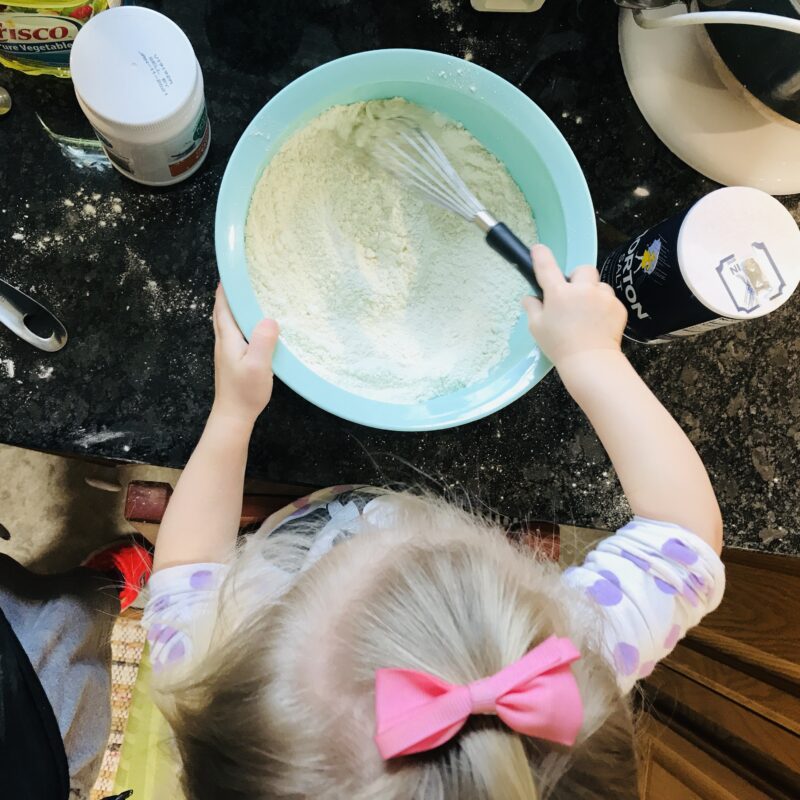
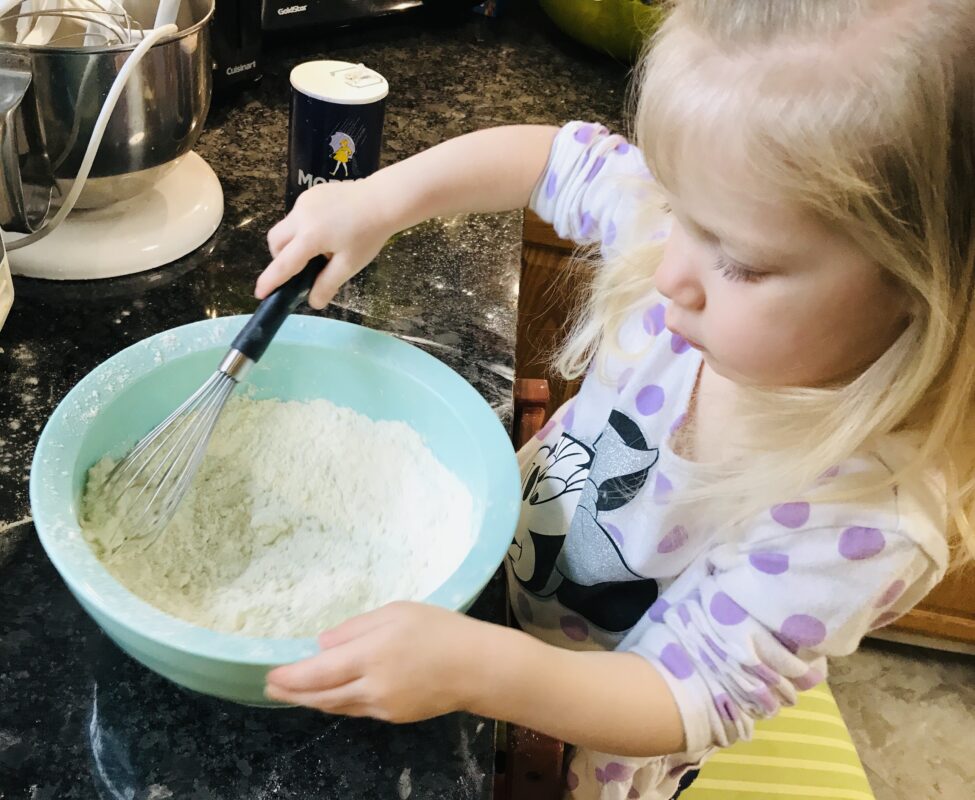
First things first, we mixed all the dry ingredients together. Although we don’t sell all the items you need to make playdough at our market–most of them you may already have in your kitchen. Abbie added flour (click to find this in our online store), salt, and cream of tartar together in a big bowl.
For some reason, messes didn’t bother me in the classroom, but it is a different story at home with my own child! I’m learning to let go of my control issues and let flour go where flour will fly. 🙂
Next, we added the oils. This recipe calls for coconut oil, which I love because it makes the dough super soft. The coconut oil is a little chunky, but don’t worry, it will melt and mix into the dough when you add the hot water. If you don’t have any, we DO carry this in our store! (Click Here) You also add vegetable oil at this point.
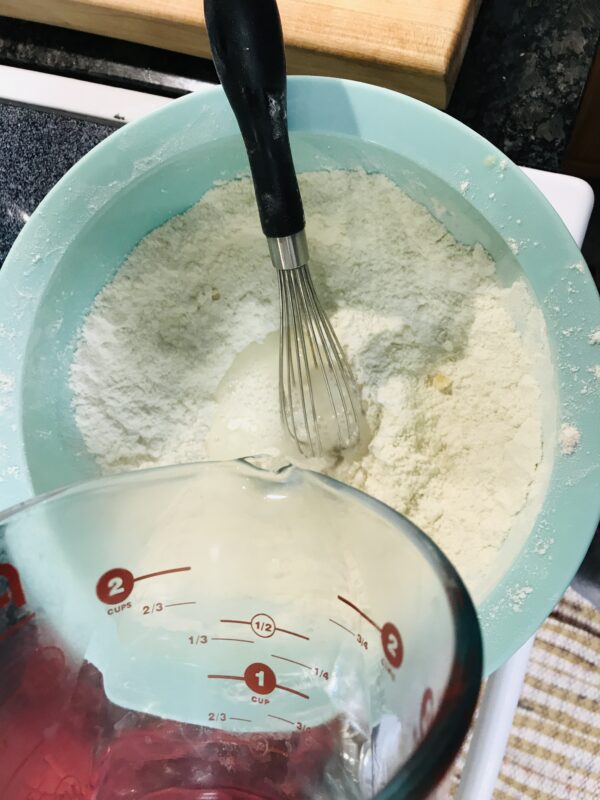
After mixing in the oils, it’s Mama’s job to pour in boiling water and stir until the dough starts to come together.
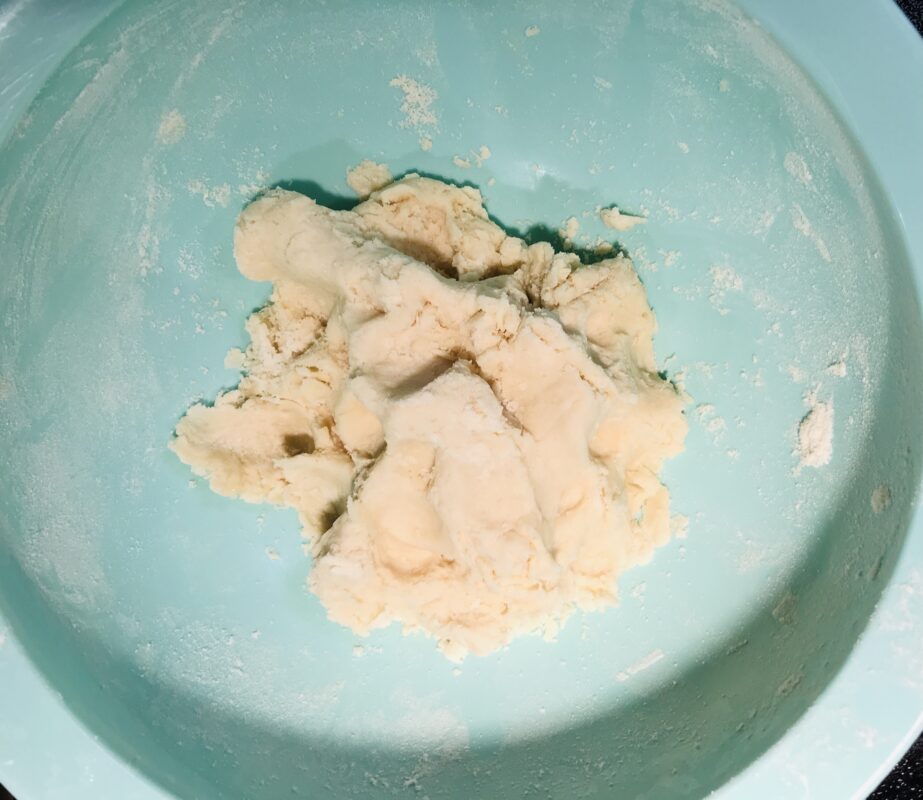
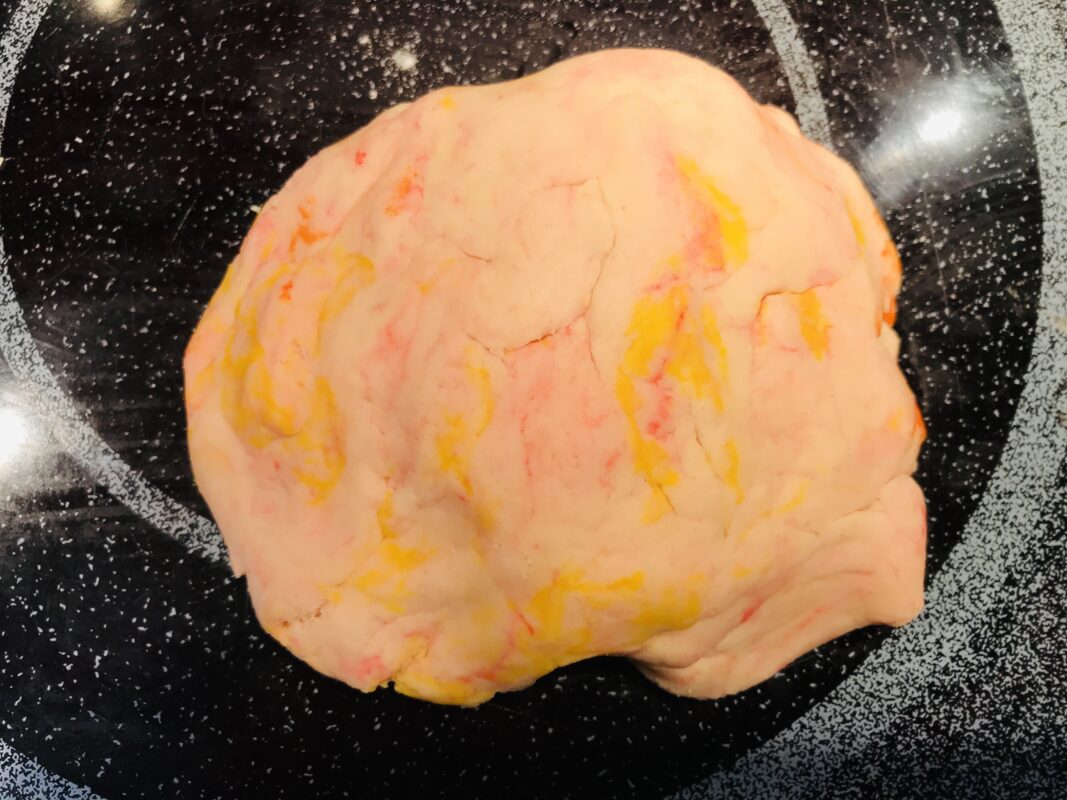
After the dough cools, it is ready to be manipulated by little hands. At this point, Abbie takes over. You can leave the dough its natural color, add food coloring or glitter, but today we followed the suggestion from the recipe and dyed our playdough with MAGIC MARKERS! It is so fun to watch the ink blend and smoosh into the dough, eventually changing the color. As you can see, Abbie had so much fun coloring and playing with her new playdough.
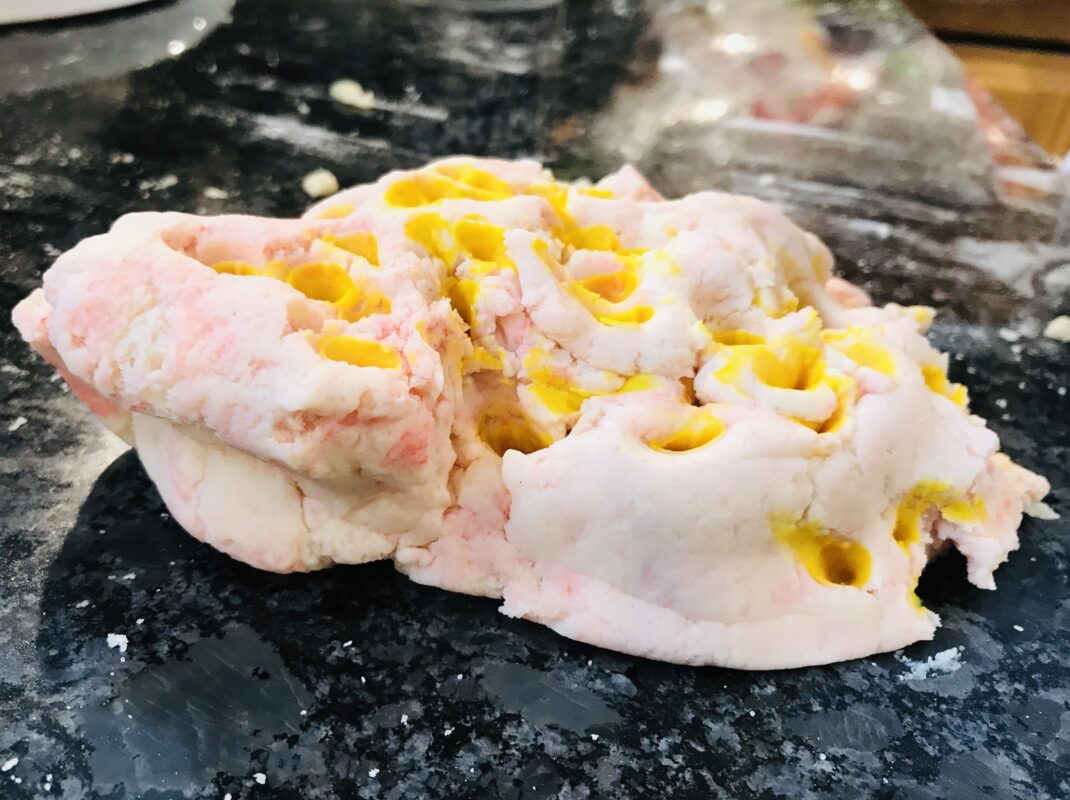
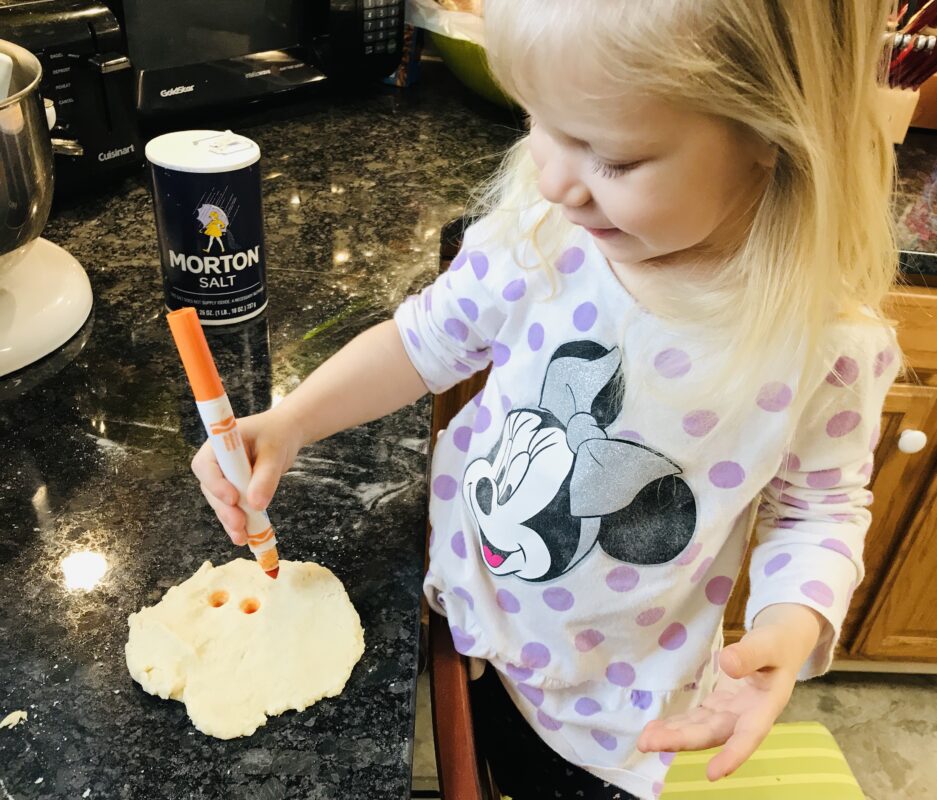
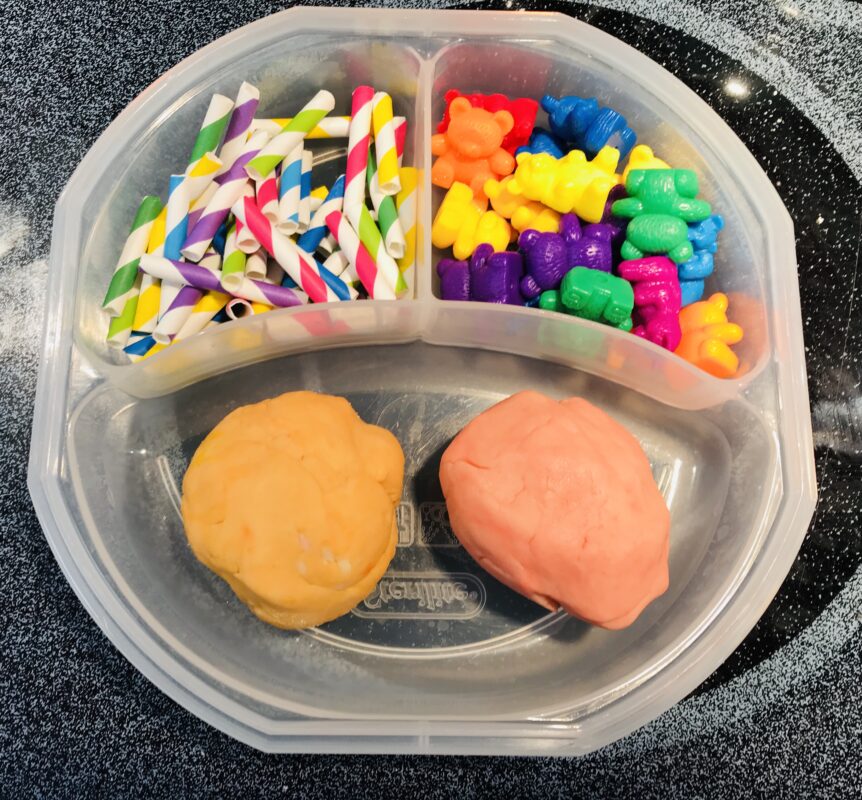
I love letting Abbie use every day items with her playdough. We have a set of “playdough tools,” but a fork, spoon or spatula work too! I also love making ‘playdough kits.’ This is a great way to store the dough so it does not dry out and add little manipulatives to encourage creative play. I use a simple Tupperware container with sections for the dough and add a few small items I have around the house. In this one, I added counting bears and cut up paper straws. Abbie and I made dough beds, chairs and castles for the bears. Playdough is the best!
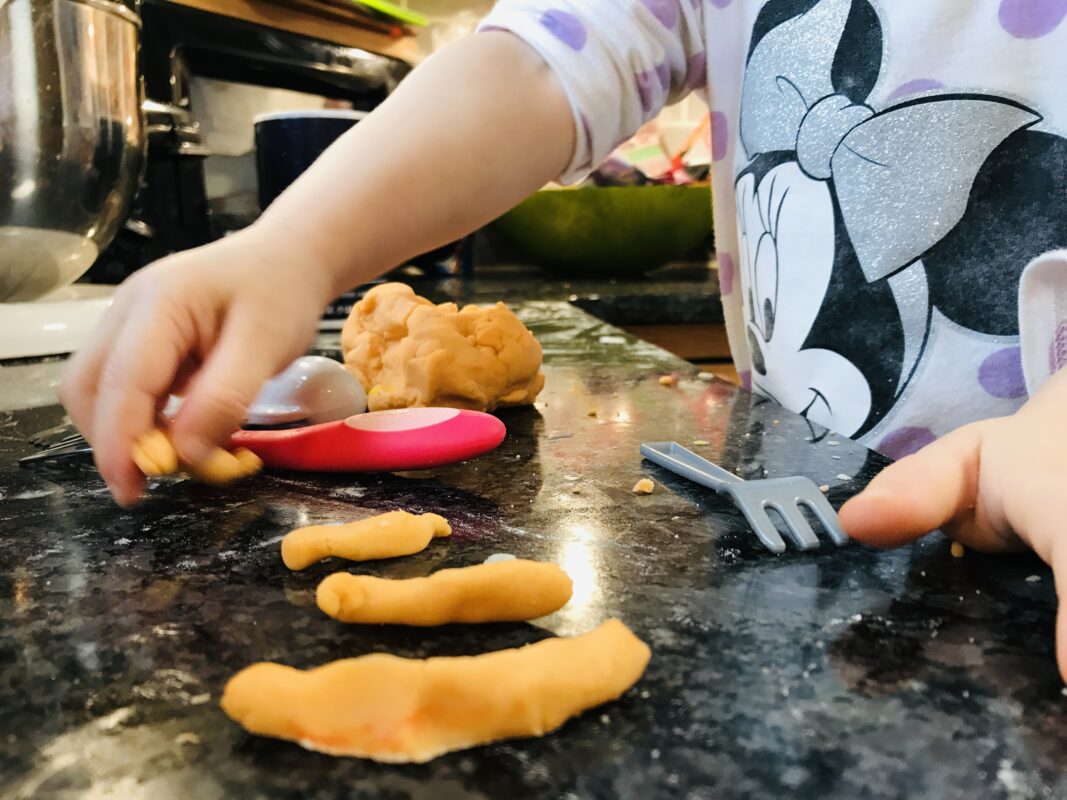
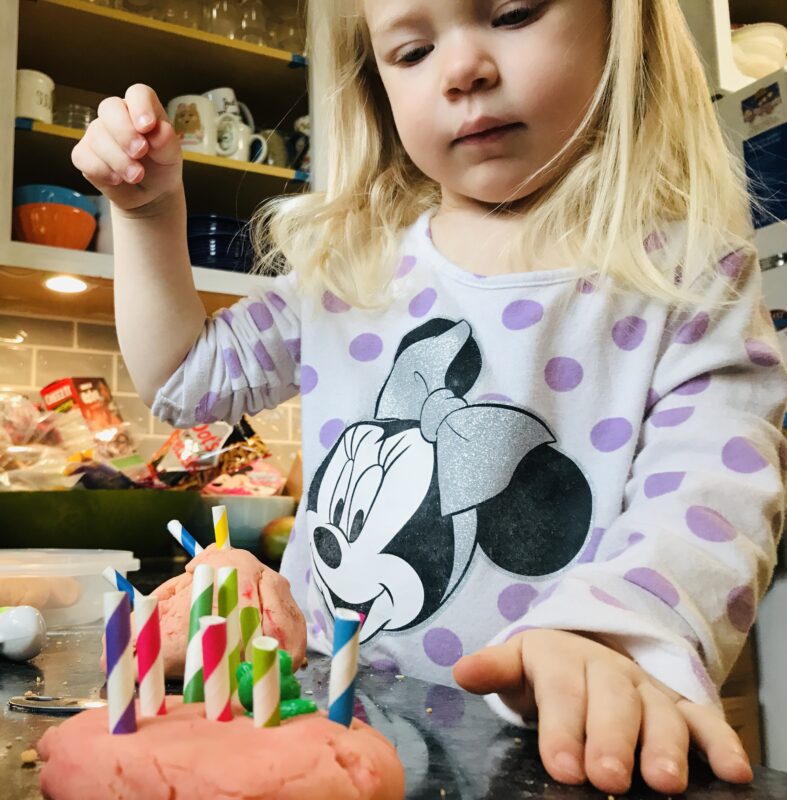

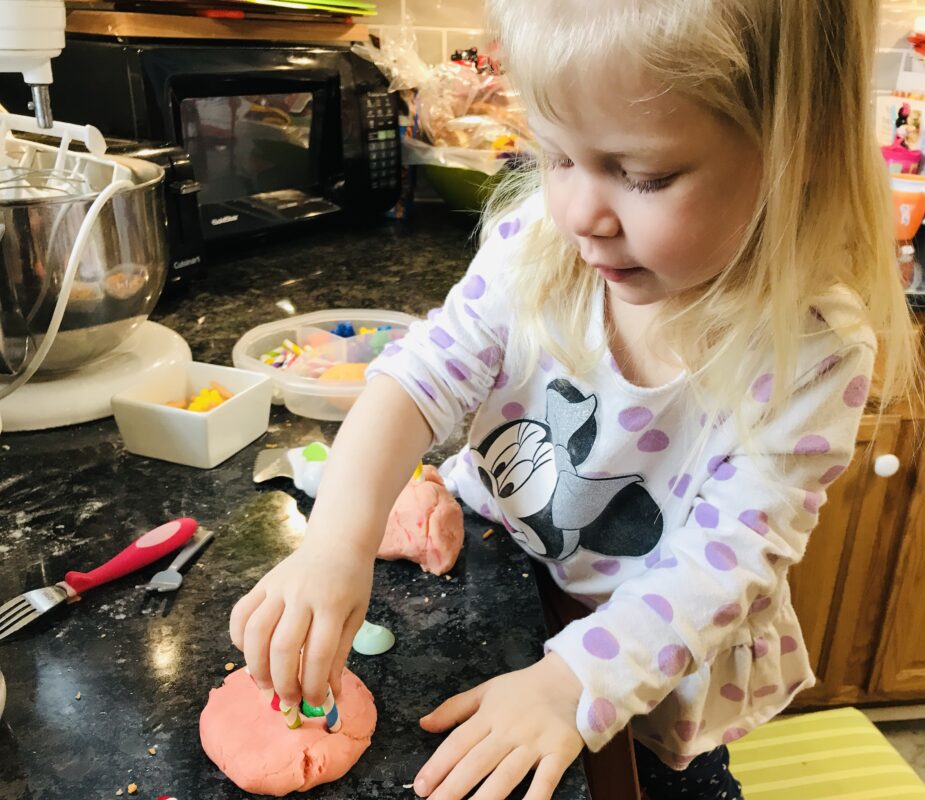
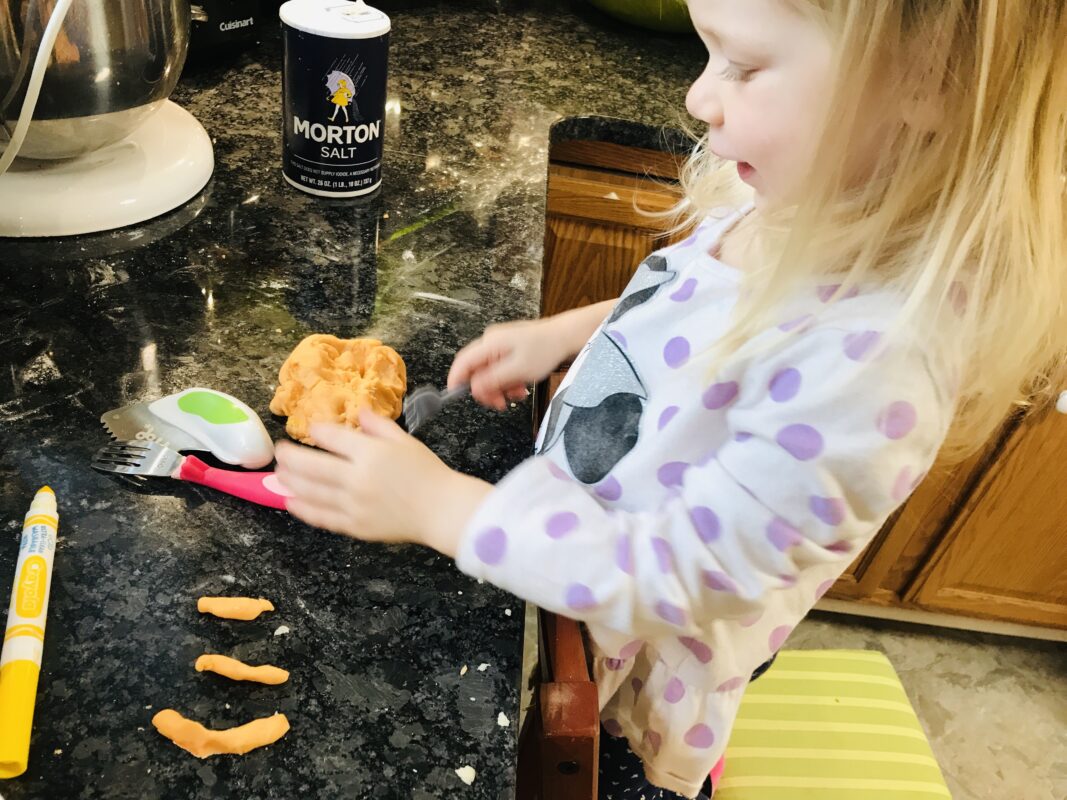
As you can tell from the photos, we had the best time! Totally worth the mess…and it was really not that hard to clean up in the end. A quick tip (and a nice perk of this dough) if you feel like it is drying out, add a little coconut oil. It will help a lot.
If you want to hear what Abbie thought of using the marker to color the playdough, watch the video below! 🙂
Let me know if you guys have any playdough recipes you enjoy! I hope you enjoyed this one. I think using the markers is a cool idea!

I really enjoy reading your newsletter. It is so informative. Love the pictures of Abbie. A real little doll. Thank you for sharing all your great tips. Lenore
Thank you so much Lenore. This sweet comment made my day! 🙂